Starting Strategies
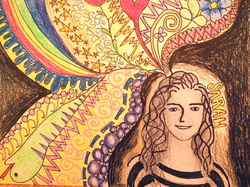
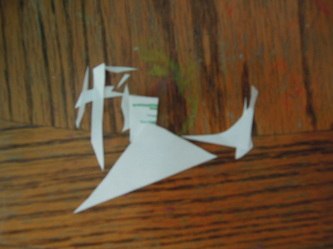
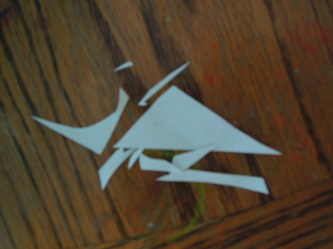
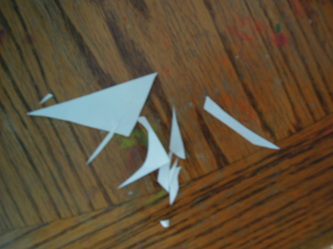
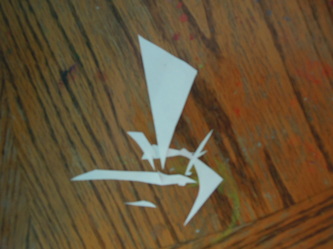
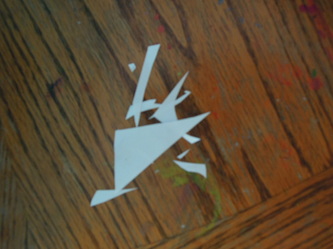
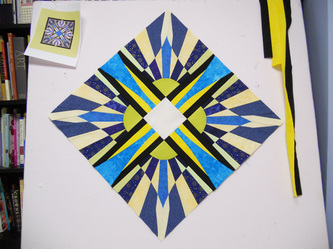
Sarah used the
"Grab an Image" strategy.
When faced with the blank page and a design problem to solve, we want to use strategies to spark our imaginations. Master these and you will soon be designing like a pro.
GRAB AN IMAGE
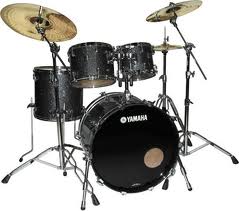
Add any image(s) to your blank page and begin to add designs over and around it. Keep the image or throw it away after it has served its purpose. Use them as a jumping off point. Juxtapose several images and you will have created something original!
FOUND DESIGN
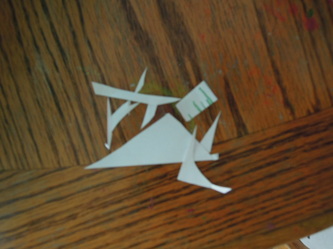
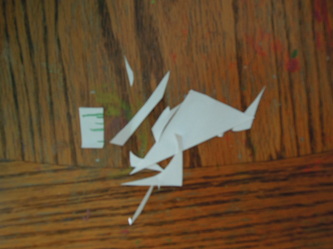
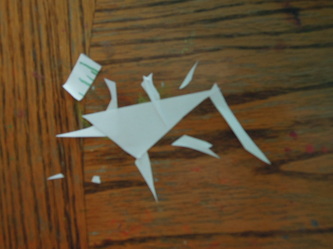
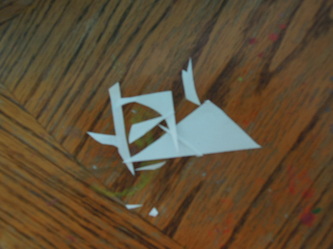
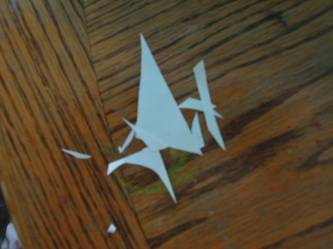
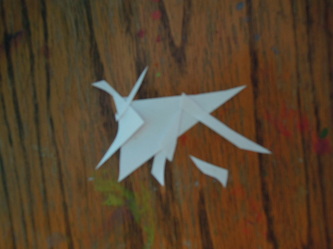
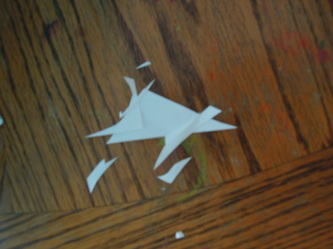
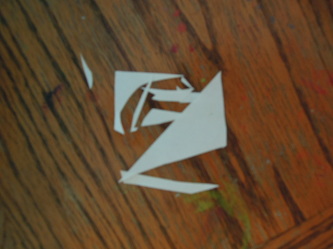
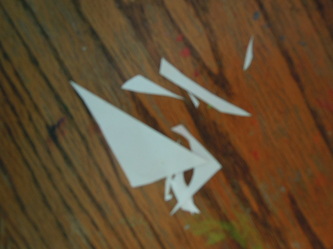
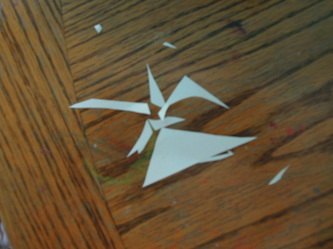
Found design could be anything from junk drawer items, the scraps after you've cut something out, the empty tube of glitter glue. Anything can become art so keep (hoard) everything!
What could these scraps become?
CREATE A VISUAL DICTIONARY:
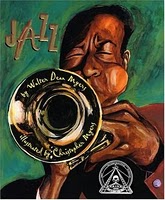
So that you are ready to solve design problems, keep a collection of objects, designs, photographs, etc that you like. I call this my visual dictionary. Collect images that interest you or may someday be useful to solve a design problem. I cut out images from magazines and print images I like online. Do this everyday for five minutes and soon you will have a visual treasure house of images and designs to begin creating art from. Remember that copying designs exactly is "borrowing" them. Not acceptable. "Steal" the design instead and make it your own by combining it with other ideas. This is how we begin to create something original.
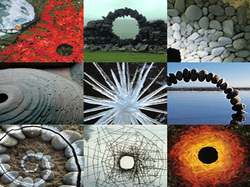
How might you "steal" an idea from Andrew Goldworthy
and apply it to one of your designs?
How might you "steal" an idea from Andrew Goldworthy
and apply it to one of your designs?
Andrew Goldsworthy images
Andrew Goldsworthy digital archive
DOODLING:
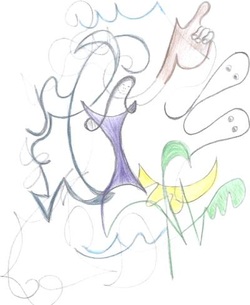
There are many ways to make marks on a page but doodles are special because they are mindless, unplanned, spontaneous, and grow off of each new mark. There are several doodle strategies but my favorite is to cover the page with gesture marks and then to find images within like birds, monsters, faces, etc.
TUTORIALS, BLOGS, and WEBSITES
We have the opportunity to watch and learn from thousands of online tutorials. Watch as many as you can--and know that your competition is, too!!!
So many folks with blogs and websites generously share their knowledge and expertise. Others earn income from advertisers. Either way, take advantage of this limitless source of experience (and say thank you or ask questions)
So many folks with blogs and websites generously share their knowledge and expertise. Others earn income from advertisers. Either way, take advantage of this limitless source of experience (and say thank you or ask questions)
The tutorials online or in books become your daily inspiration. Do an exercise practicing the technique and then apply it to your own designs.
Inspiration=PERUSING ART BOOKS, MAGAZINES, WEBSITES
Exercise=SKETCHING, Ripping out, NOTE-TAKING
I=WATCHING A TUTORIAL-
E=PRACTICE THE TECHNIQUE
EX: Using metal polish in collage TUTORIAL
WATERCOLOR TECHNIQUE TUTORIAL
VASELINE RESIST TECHNIQUE
PAPER NAPKIN TRANSFER
THE LOOK OF FORGED METAL
PAINTING ALUMINUM FOIL
PHOTO TRANSFER TECHNIQUE
CREATING FOAM STAMPS
GLUE PRINTS
MONOPRINTING USING WATERCOLOR ON PLEXIGLASS
Pop Ups
Another Pop Up--Stairs
Incredible 3-D paper
Kirigami
Info on using Gel mediums
Using Aluminum Foil
Water Splashing technique
Alcohol and Acrylic technique
Tutorial for making a cover for your Altered Book
Your browser does not support viewing this document. Click here to download the document.
Your browser does not support viewing this document. Click here to download the document.
Putting Your Best Ideas To Work$$$$$$

It is a very competitive world out there! Even the teams who create half a million dollar floats for the Rose Bowl Parade compete each year to win coveted awards. It all begins with the sponsors for these floats, who commission designers a year in advance to create preparatory drawings, select the winning idea, and then ask for a final drawing in color( see the float design above for Kiwanis International.
In order to gain the edge on your peers, you will need to work as hard as these professional designers do during the planning stages of any project. The successful student uses their sketchbook to brainstorm different ideas so that when the time comes to solve a design problem, there are multiple CHOICES. The strongest ideas tend to easily stand out when you can compare all ideas side by side. But if you are unsure, these sketches can be shown to others to gain feedback and insight. This process will give your designs the edge over others who often bypass the planning stages in their hurry to "just get it done".
I have filled numerous sketchbooks with more ideas than I will ever use. But those ideas and inspirations are there for me when I need them. Also, our tastes change as we grow and an idea that we thought wasn't so spectacular at age 16-19, might look pretty exciting to me at 43 (yes, my tastes are in constant flux)
Presenting more than one idea or design option allows your instructor, or your peers an opportunity to collaborate with you. New ideas will springboard off of your sketches, color schemes, references, etc.
In the real world of work, you or your team will never proceed to a finished product without extensive planning. Putting multiple ideas down on paper in sketch form is vital to success.
Below I've listed some artist testimonials that illustrate how their sketches and plans became finished works of art.
Planning sketches for the Rose Bowl Parade Floats
The story behind designing a sports logo for the Bakersfield Dragons
--He provided several rough concepts, from which I was able give him a general idea of what I wanted the logo to look like. The pencil sketch that he gave us next was exactly what I was looking for. From there, he digitized and colored the logo and created a wordmark based on the font I was planning on using for the jersey numbers.
Bob Neath
Bakersfield Dragons
Designing a Sports Logo
Logo designs by Sportdrawn
New NFL Logo Concepts by Matt McInerney
Designs for Quilts
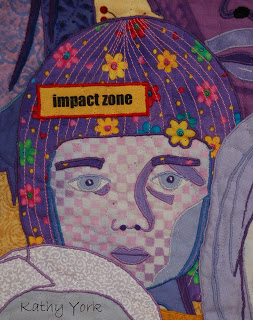
Art Quilts by Kathy York
Art Process...To Sketch or Not to Sketch? by Kathy York
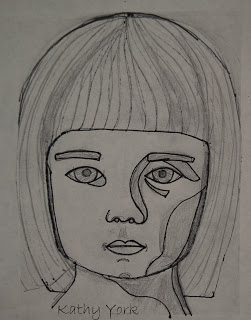
When I first started making art quilts, I sketched a lot. I made all my design decisions before starting. Then I would copy my sketch into fabric..... I drew each face before attempting to recreate it in fabric. And, I was very nervous, I didn't think I could draw, and especially not faces! My criterion for success was that the faces be recognizable as the human form, and I surpassed my very low expectations!
Esmerldas Studios
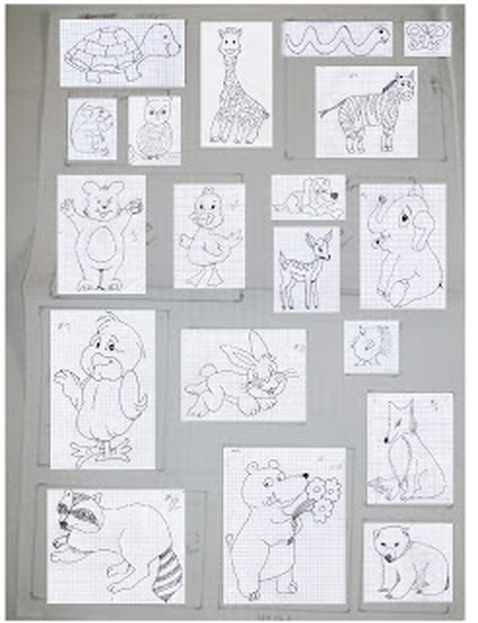
"the last three drawings for the animal quilt..."
and the "map" (got to love using technology to do in minutes what it would have taken hours to do with paper and pencil!)" --Bev
Personally Christine
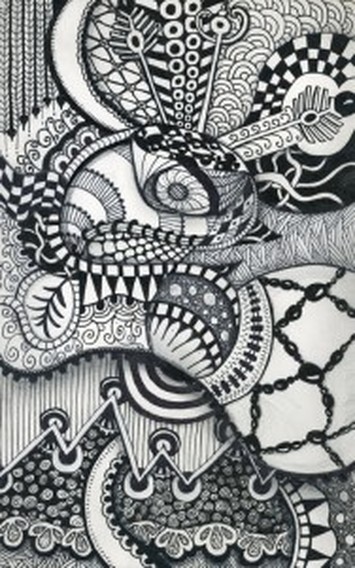
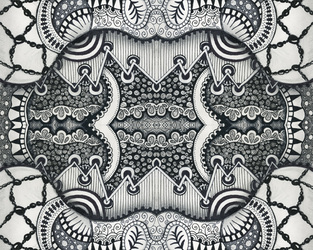
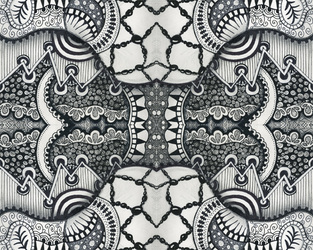
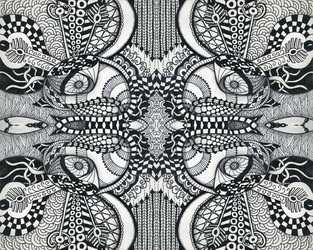
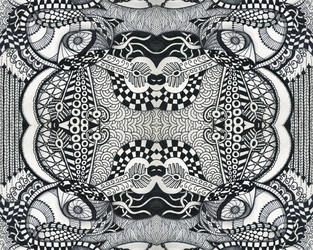
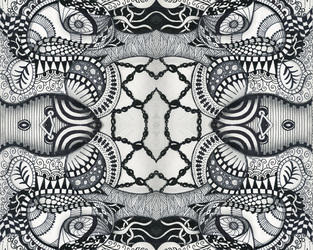
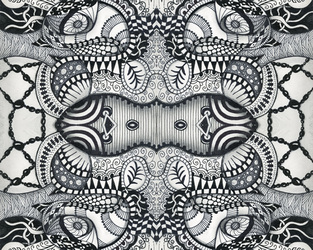
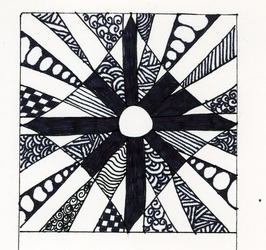
"I started this Zentangle® drawing on a plane on the way to Phoenix in November."
When I finished a few weeks later at home, I was ambivalent. There were elements I really liked, even whole sections I really liked, but I wasn’t sure I liked it as a whole composition. Pretty darn busy.
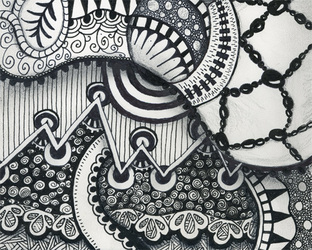
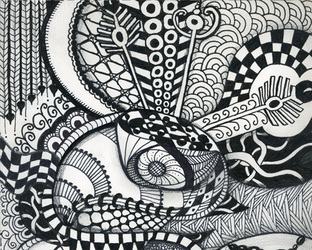
So, I scanned it and cropped some sections in Photoshop. I started to like it better:
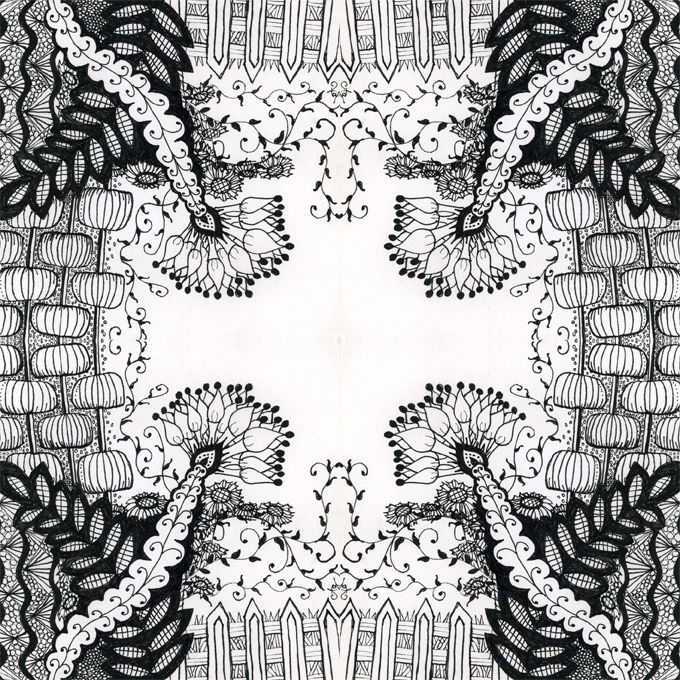
"Once I had sections isolated, I created symmetrical images, by using the sections as a quarter of the image, flipping horizontally, then flipping both sections vertically. Here are some favorites:"
"This frame (pictured below) started as a Zentangle on a week when it seems like Spring has finally arrived. Working with it in Photoshop, I stumbled upon this configuration that makes a neat frame. Now I’d like to work in a rectangular format with an open corner to create a frame with a bigger opening in the middle.
It’s so nice to find the “happy accident”. I was ambivalent about the drawing itself, but I really like this frame that it became. Some days I just need an artistic “win.”"
ReannaLily Designs
...The quilt was just a practice “what if” kinda quilt, but then it turned into being a pretty neat design for a little nephew, due this fall.
-Jen Eskridge
Sometimes the simplest of ideas lands you on the Martha Stewart Show
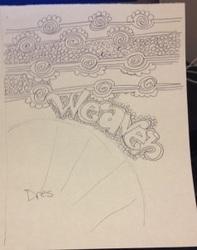
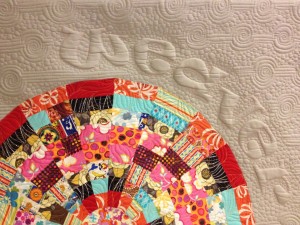
Design to Wear
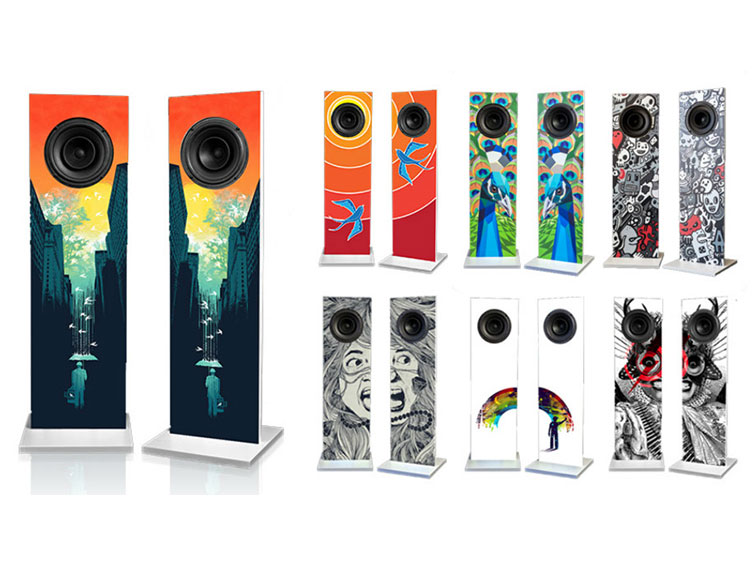
Design to Hear
Your browser does not support viewing this document. Click here to download the document.
